
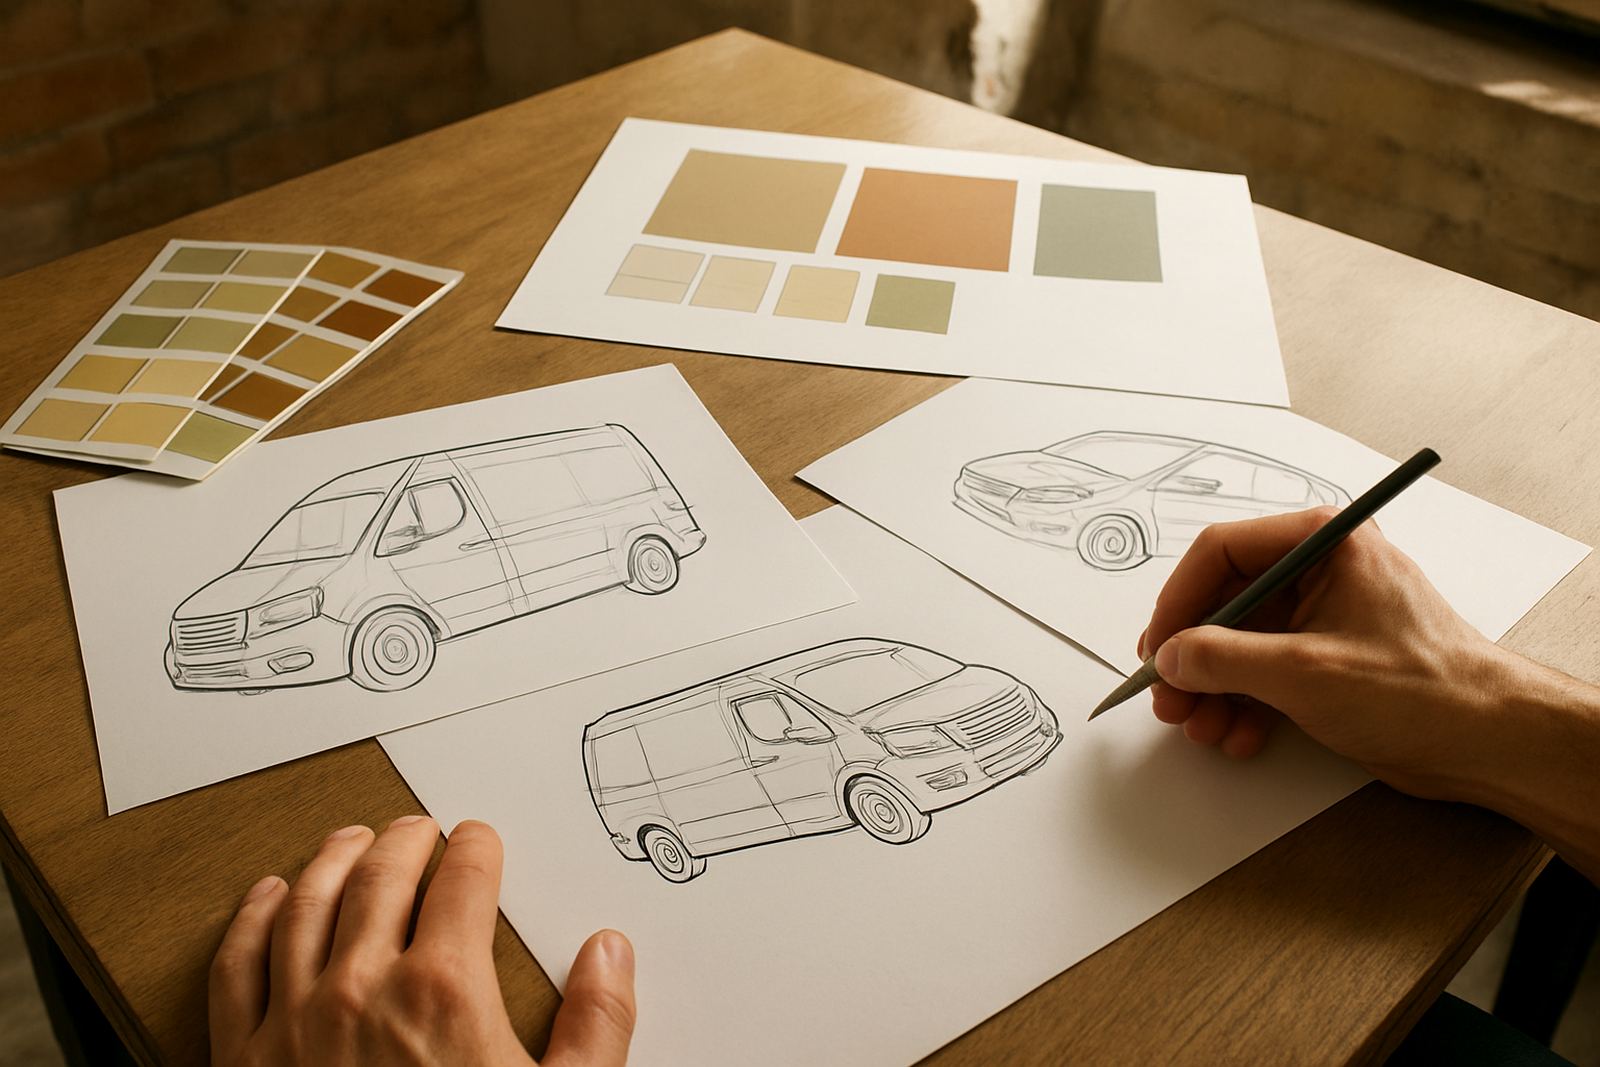
Start with the vehicle and its job on the road
Before any artwork is drawn up, decide exactly which vehicle is being branded and how it is used. A bakkie doing site visits in Mangaung needs a different layout from a delivery van travelling between Bloemfontein, Botshabelo and Thaba Nchu. The size of the panels, the colour of the bodywork, window coverage and whether the vehicle parks outside at night all affect the final result.
It helps to note the make, model, year and body style, plus any extra fittings such as canopy frames, ladder racks, tow bars, roof beacons or safety striping. These items can cut into usable space or change how a logo sits on the side. If the vehicle is leased or part of a fleet, confirm who must approve the branding before any work begins.
Gather the details your sign maker will need
Good vehicle branding starts with good information. Send clear photographs of all sides of the vehicle in daylight, plus close-ups of existing decals, scratches, dents or old adhesive that must be removed. If the fleet has more than one vehicle, a simple list with registration numbers and dimensions makes the job much easier to plan.
- Vehicle make, model, year and colour
- Photos of front, back and both sides
- Any existing branding or stickers to remove
- Known measurements if available
- Your logo files, company name and contact details
- Services you want highlighted on the vehicle
- Preferred colours and any wording that must stay legal or exact
If you do not have artwork in a usable format, ask for logo redraws and artwork setup. That is often needed when an old logo was scanned from a printed card or saved in a low resolution file. A clean artwork file keeps cut lines sharp and text readable from a distance on the N1 or in busy town traffic.
Decide what the vehicle must say in traffic
A branded vehicle has only a few seconds to be read, so keep the message practical. Start with the business name, then choose one short line that tells people what you do. For example, a service company might use only the name, a phone number and one clear line about signs, repairs or installations. Too much wording can look crowded, especially on smaller doors or tailgates.
Think about where the vehicle will be seen most often. If it travels mainly in Bloemfontein and nearby business districts, a cleaner style with strong contrast works well. If it spends time on highways, farms or dusty routes around Brandfort and Winburg, a bolder layout with fewer fine details is usually safer. Colour choice matters too: pale vehicles often suit darker graphics, while darker bodies may need brighter print or more white space to stay legible.
It is also worth deciding whether you want a full wrap, partial wrap, simple door branding or just decals. Full coverage gives the most impact but takes more material and more install time. Partial branding is often the sensible choice for smaller fleets or vehicles that must stay on the road with less downtime.
Check the surfaces before installation day
Not every panel accepts vinyl in the same way. Smooth painted metal is usually straightforward, while textured plastic trim, rubber edges and curved panels need more care. Freshly painted panels should cure properly before installation, and any old adhesive must be removed fully so the new film bonds well.
Load-shedding and weather also matter in a practical sense. If a vehicle is being branded in summer heat, the surface temperature can affect application. In winter, early morning cold can slow the job and make some films less cooperative. For outdoor parking in Bloemfontein’s dry conditions or damp coastal-style humidity if a fleet travels farther afield, maintenance visits may be needed to check lifting edges, faded print or damaged sections.
Before handing the vehicle over, clear out loose items and wash off heavy dust. Please do not apply polish or silicone-based cleaners just before install, because they can interfere with adhesion. A clean dry panel gives a much better finish and it reduces the chance of bubbles or lifting later.
Plan approval, timing and downtime properly
Vehicle branding is easier when the timeline is set upfront. Ask how long design, print production, cutting and installation will take, especially if more than one vehicle is going through the same process. Some jobs can be scheduled around weekends or quieter trading days, which helps businesses in Mangaung, Welkom and Kroonstad keep moving.
Also decide who signs off the final proof. One approved layout avoids repeated changes and delays. If the vehicle carries legal information, safety warnings or operating hours, check every line carefully before printing. Even a small error can mean a reprint, which costs time and money.
- Confirm the exact install date and drop-off time
- Agree who approves the final layout
- Check whether the vehicle can stay off the road for a day or more
- Ask how the vehicle should be cleaned after installation
- Plan for any follow-up maintenance or debranding later
For larger fleets, stagger the work so your team is not left short of transport. That is especially useful if your vehicles are needed for deliveries, technician visits or site inspections.
Aftercare that keeps the branding looking good
Once the vinyl is on, good aftercare keeps it looking tidy for longer. Avoid high-pressure washing directly on edges in the first few days after installation. When cleaning later, use mild soap and soft cloths rather than abrasive pads or harsh solvents. This matters on company vehicles that spend long hours in the sun, park near building sites or get regular dust and road grime.
Check the branding every few weeks for lifting corners, stone chips, scratched decals or faded areas. Small issues are cheaper to fix early. If a vehicle is sold, repurposed or leased back, debranding should be handled carefully so the paintwork is not damaged. A proper removal plan is just as important as the first installation.
For businesses that rely on their vehicles every day, a simple maintenance visit can extend the life of the graphics. It is a practical way to keep your name visible without replacing the entire job. And if you add a new branch in Botshabelo, Thaba Nchu or elsewhere, matching the existing fleet style keeps the brand consistent.
A simple checklist before you book the job
Before sending a vehicle for branding, run through a final checklist. It cuts down on missed details and makes the whole process smoother from first quote to final handover.
- Vehicle details confirmed
- Measurements and photos collected
- Logo files available or redraw requested
- Wording and contact details checked
- Vehicle condition noted, including marks or damage
- Layout approved by the right person
- Downtime scheduled around your work flow
- Aftercare understood before the vehicle leaves
With the right preparation, vehicle branding becomes a practical business tool instead of a last-minute rush. It helps your vehicles work harder for your name every day, from the streets of Bloemfontein to the roads serving the wider Free State.